Featured Slider

From a Closet to dreamy Hide-out - A pleasant metamorphosis


The story begins in the long lost past. The little girl "me" had a secret hide out ( I don't think it was any secret - but I believed it to be). It was an asbestos shed towards the back of our terrace. Though a dump yard for scrap wood and broken furniture and home for mice and spiders - it was my shelter from the harsh realities of the world ( a wink is inserted here). A fight with my sister, an argument with mom, or just to sneak a re-read an old edition of "Balarama" ( a children's magazine) - the shed was my hide out.


Fast forward to present - I realized a hideout would be a cool pleasure for my little girl too - especially since I started spotting her under the dining table and blankets whispering to her dolls and toy pets. Thus started this " closet-to-hideout " makeover saga. Come on in for the details.


This one was easy since we already had a second closet in Akshara's room which was majorly un-used, well except for dumping toys that were no more in lime light, chairs, seasonal stuff etc. So one fine day I drew out the plan and got approval from husband, the master and set out. I cleared out the closet and painted with left over paint. You can make out the "left over" part since two sides of the closet are different colors. Perfection is over-rated friends - You just do what you can do. Right!


That was also a time I was making notes on different kinds of wall treatments as stenciling, wall paper, textured walls etc. and wanted to try out each. I thought a peel and stick wall paper would be a cool start at experimenting. I looked around for some time but then I spotted a gift wrap in perfect colors at HomeGoods and thought why not! So gift wrap it is. I was indeed worried about the durability, but it has been six months, so far so good - And I won't be upset even if it is ruined. It is just a gift wrap nothing pricey or precious.


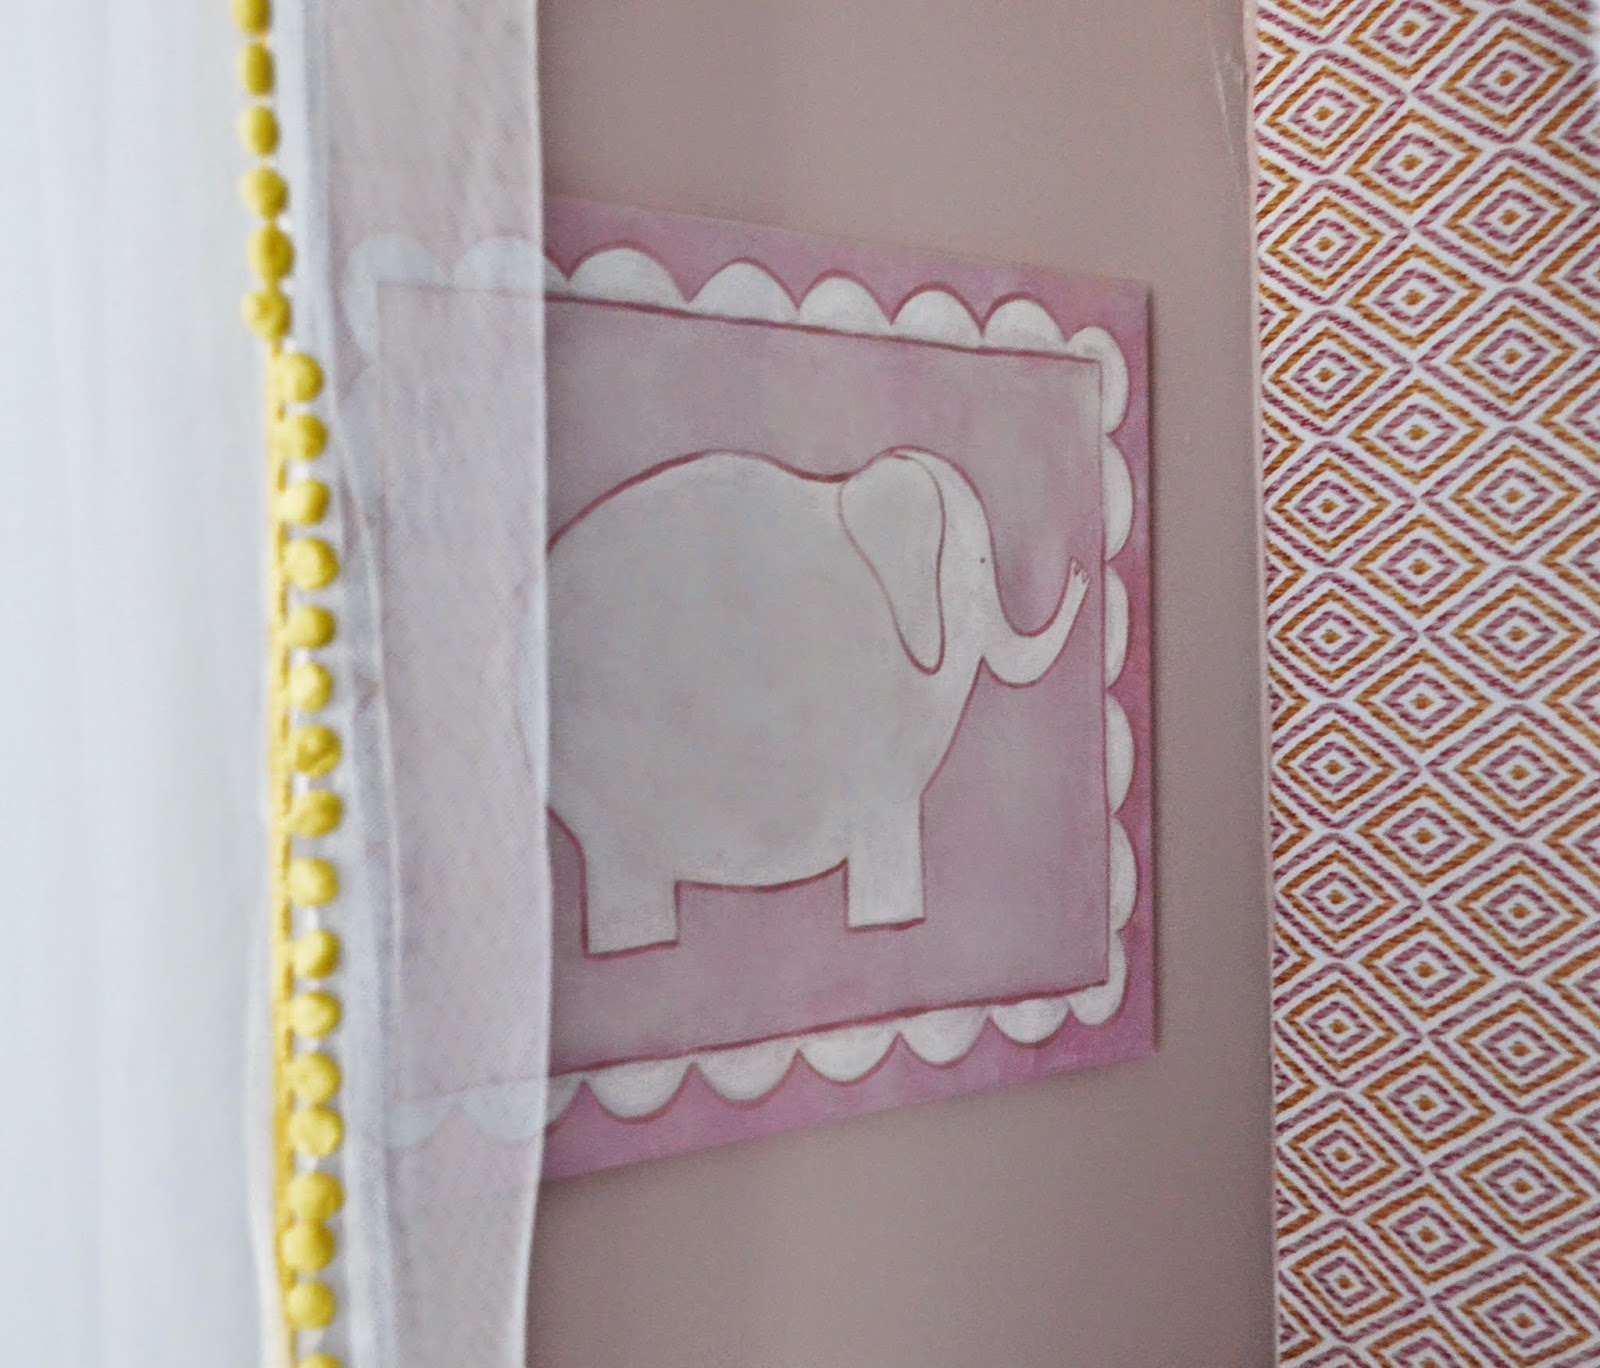
The rest of the place came together with Ikea sheers with pom pom trim, a toddler mattress that fit in perfectly ( how did that happen?) and a shelf on bracket which I already had in hand.  I kept the upper rack to hang her dress up cloths and to keep away some seasonal storage. We added an extra light there, since it is a dark corner, it is battery operated but more fun than function.


I am not allowed to decorate or add anything more than what is inside there already. Although I did sneak in the banners and a frame for my pleasure. The little owner of the little shed likes it bare and her own. The flower vase you spot there is one kept just for the blog pictures which she immediately spotted and asked - "Amma why do you have your stuff in there? "


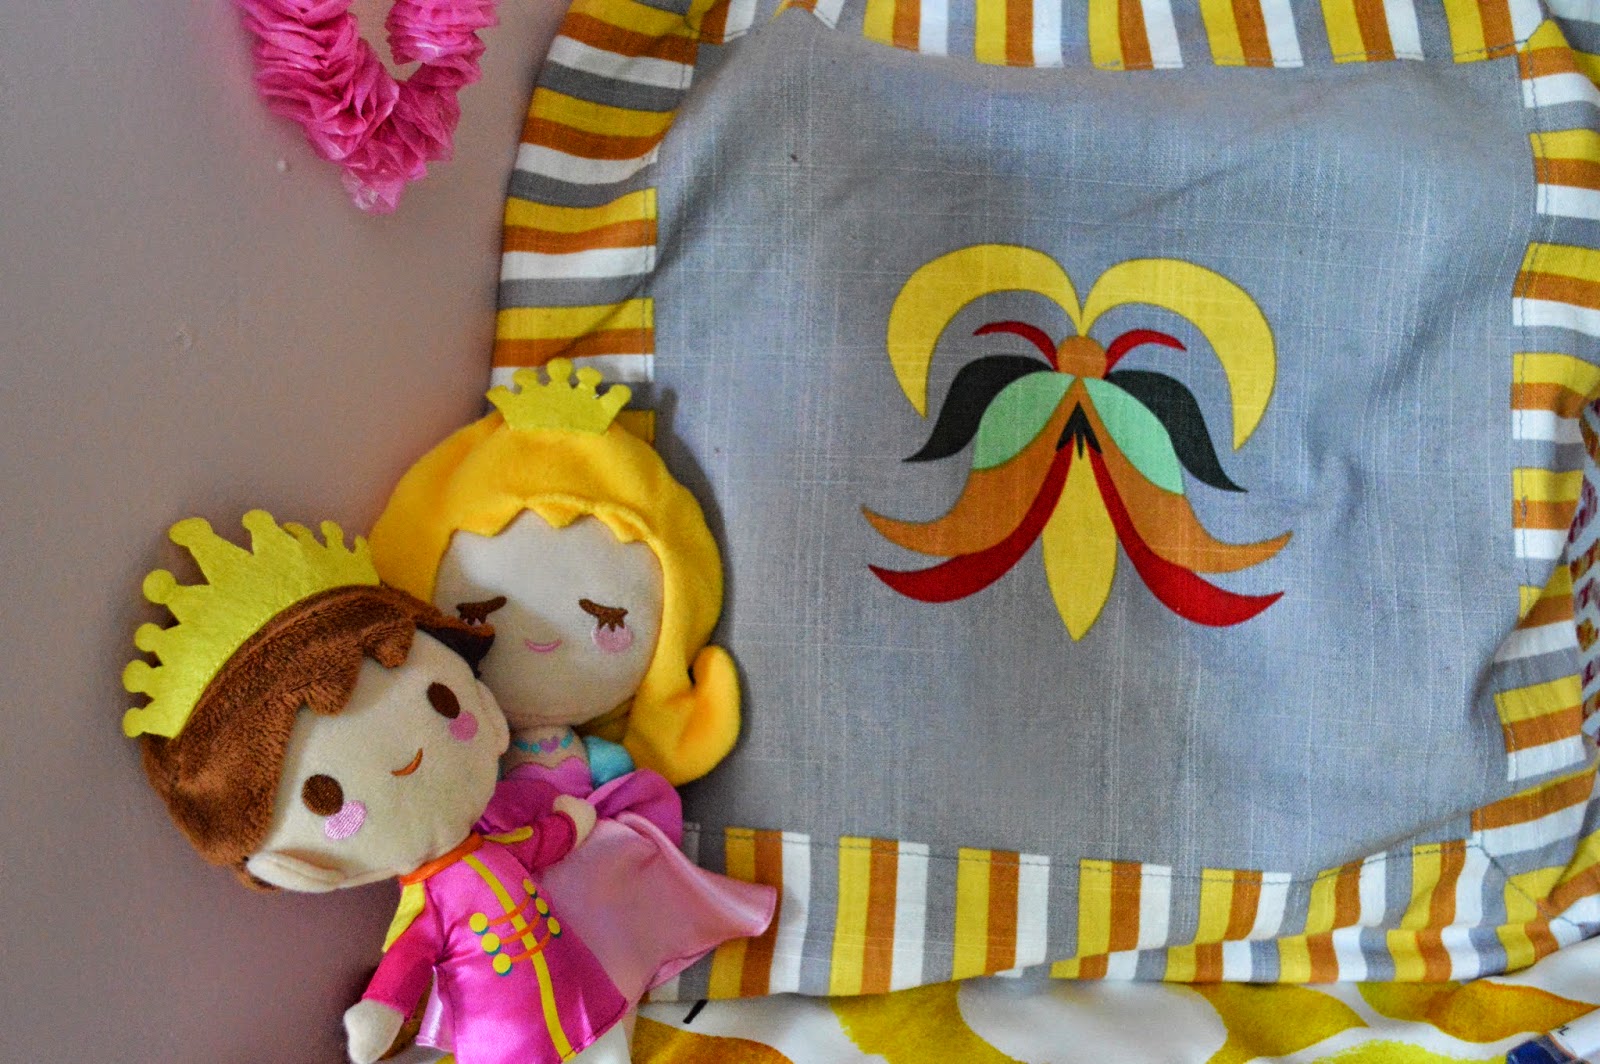


But she is happy, invites her friends over to spend time in her hide-out and when she gets mad or whiny she would loudly announce that she is going to her hide-out for some quiet. Yes she does and the purpose is fulfilled.


So that is that, simple projects for simple pleasures. Did you like our hide-out? Did you have super private space back in time or even now? Share your stories here. Everyone loves nostalgic stories I believe.

I party with Remodelaholic

Keep Smiling,
Anima.

Friday Fun - Making Paper Flowers

A few days ago, I wrote about our little girl's party. If you missed the post, it is here. The most important things she wanted for her party were flowers and butterflies. And we made just that.


One thing with little girls is that, they change their preferences every now and then. That is the same case with Akshara too. If today it is flowers, tomorrow animals and the day after robots. For that precise reason, I decided to keep anything that we use to be low profile, money and maintenance wise.


So we opted for colored craft papers, I followed this tutorial roughly, tweaking it as and how I needed. But the basics really are the same. I used a foam board to stick my flowers and butterflies. The technique could be easily applied to fabric, felt , crepe paper and be used for room décor, scrap booking or simply crafting for fun.

So here we go. Confession - I am  not really good at doing tutorials I guess, so please bear with me and while trying adapt the way you feel comfortable.

Here are the supplies.


Step 1 :  Here is where we draw the template of a petal. I wanted it to look like rose. So opted for this particular shape . You will choose the template of any flower you want here. To make it easier, just google something like "orchid petal template" and you can see the templates showing up.

Step 2 : Next thing to do is to cut out the petals, in multiples. To make varied size of flowers, cut them out in the desired sizes too.


Step 3 : Now, you cut through the middle of the petals. This is to bring on the curvy feel that flower petals have.

Step 4 : You will have the templates ready to be turned into petals from this point onwards.

Step 5 : With a tooth pic or ear bud curl up the end of the petals.


Step 6 : Remember the cut we made in the middle of the petals? Now we slowly stick the one loose edge to the other - one edge on top of the other. With this step it will start looking like a real petal.


Step 7 : Cut out a small circle and start sticking the petals in a round on the cut out circle. You can have 5, 6 or even 7 petals stuck together to make one flower.


Step 8 : Stick it on the foam board or any where. If you want to make flowers for a vase, then instead of gluing on the paper, glue on the tooth pic or skewers directly. Glue gun would be a better choice here since the strength of bond will be more.

There - you have paper flowers.


With the butterflies, I did the same. Cut out the template, and glued two together (glue only in the middle in a straight line, so that you can see  the bottom wing clearly ) and directly stuck them on the board. Two is preferred to get a 3D effect and curling up the wings on the edges will help too.


I am not sure how convincingly I have put this out here. If you feel confused or feel this is lot of steps and complicated - please don't feel discouraged. It just feels that way for the first time. Once you do it once, you might even find easier ways and tweaks to this method. How do I know ? Because I felt the same way watching and reading tutorials a lot of times. And regularly put the idea away, sometimes for pure laziness! But have since found out that once you do it for the first time, it will feel "easy peasy!!!" and extremely satisfactory.

So, go ahead - craft away this weekend and have fun. For bonus points get kids to help and make it a family time.

Happy weekend, Please do come back on Monday for more fun @ This Design Journal.
Anima