Design Elements : Dressing up a Window

While doors are the protective shields, windows are the eyes of the home, ok eyes that can breath. Too much of an analogy? But window dressings are an interior designer's magic wand to turn a so-so space into a thoughtfully decorated room. While curtains and blinds are standard elements in the design of a room, getting these right so that they add color, pattern, texture along with function is indeed a thought worthy deal.

Source : West Elm

There are number of ways to dress up a window. While curtain panels are the primary and most common method, they are not the only way.

Roman Shades :

While they do the same job as that of a curtain, roman shades differ in the fact that they stack up evenly and smooth when they are open. They are similar to blinds but will not be bumpy or have in b/w opening as in blinds.

Source
 
 
Source
 

Blinds :

One of the best ways to add texture and privacy is using blinds. They don't visually take up space yet add sophistication. Blinds are available at any price range with a variety of materials, as in vinyl, wood, faux wood, bamboo even fabric. They can be hung vertical and horizontal designs. While they are neat and excellent in controlling the flow of light, they do need special hardware to mount and most of the times are cut to specific measure

Source

Source


Best thing about blinds are, they are an easy way to layer the windows for added texture and sophistication.

Source: Lonny

Valences & Cornice:

Valences are treatments that cover the uppermost part of the window and can be hung alone or paired with window blinds, or curtains. Valances primarily chosen for decorative purpose, mainly in concealing drapery hardware. Window valances were popular in Victorian design and adds a formal touch to the space.

Cornices are very similar to valences in form and function, only that they are solid and mostly fabric covers wood/ Faux wood.

 
Source : Lonny
Cornice source : Lonny

Window Films

Without the trouble of having to mount hardware, measure and stitch etc, we can easily have privacy and décor with window films. There are peel and stick designer films available which is really good for high humid areas as bath rooms.


Source : HGTV

Curtains

They don't need introduction since it is hard to find a room that doesn't have one in the internet world. Even though that is the case, this is one form of window treatment that is actually difficult to get right. The pattern, hardware even the method chosen to hang them have serious visual impact on a room.

There are number of types to choose from.

For example, 1) they can be hung with rings ( most basic) , 2) stitched with rod pockets ( a channel through which curtain rod will pass) , 3) Stitched as pleated ( suitable for formal syle rooms) 4) Stitched as Tab Tops, with flat loops attached at the hem.


There are number of ways to hang the curtain panels.

If the situation permits ( as in no radiators or furniture pieces in the way) , floor length panels are way to go. Most ready made panels are available from 60 to 144 inches. While there is nothing wrong in having curtains that reach only until the length of window, they sometimes look off and most of the times dwarf the whole space. Length wise sometimes they are hung just to skim touch the floor ( I personally prefer this way, cleaner look?) or puddle on the floor which is more formal and lux way.


Source: Houzz
 
Source: Houzz

 Fro the top too, it is advised to hang them higher and wider than the windows so as to frame the window well and give a grand look.

Source

There could be hundred other things to talk about when it comes to window treatments as in type of hardware to use, measuring etc. But I hope I have covered all the primary points. It indeed is a wide and tall topic. Have you come across Ballard Designs, they are a great source for furniture and furnishings. What is cooler is their blog How To Decorate, which has more detailed information on our topic.

Do you pay attention to your window treatments ? Have you come across any window decorations that caught your eye instantly?

Keep Smiling,
Anima


Friday DIY - A Tray Tweaked


Have you come across this product Mod Podge? It is not only one powerhouse decoupage medium but also the least messy and easiest to use too. It is glue and sealer combined in one and so strong that could be used to adhere even fabric to a surface. Don't believe me? Check out this project from Jenny of Little Green Notebook.


While there is no limit to its application, today I am using it to tweak my small, boring scrap wood tray from Michaels.

My Supplies


A wooden tray : I got this one from Michaels, only mine is rectangle. But even a card board lid or shallow box would do the trick.

Mod Podge : I bought from Amazon, but it is available almost any super stores and craft stores. A small can will go a long way.

Paint Chips : I pick up  free paint chips when I visit Lowes or Home Depot or even Walmart. It is actually small paper cuts that represent paint colors. For our case in point, any decorative paper, photographs, cards that you love, even fabric scraps would work.

Scissors : No brainer!!!


How- To


It is very simple in execution. All you need to do is to decide on a design, cut out the paper/fabric in desired shape/according to the chosen design.


Since I love anything geometric these days I went for these hexagons. I applied the Podge to the back of each cut out and put them randomly. It is important that the layer is very thin so as to avoid bubbles.

Once finished, I applied a very thin layer to seal and shine.


The tray can survive any where I believe, I used it at my desk for sometime as a catch all for small stuff as eraser, sharpener kinds. When it started being used as the pool where Akshara's doll family started swimming I kind of lost it to her. But a pretty tray makes catching random things any where easy right!


Small tweaks can't get easier than that, what do you say? If Mod Podge is un available, ordinary school glue works too, just need to focus harder to avoid bubbles, that's all.

Have a wonderful weekend friends. Hope you have fun. Do come back on Monday.

Keep Smiling,
Anima


I party with Remodelaholic

A can of Spray Paint - The beginning of my DIY story

DIY - Do It Yourself is a term that I think is more appealing than "facebook" in popularity, at least in US.


When I came newly to US, I was shocked to see that our dining table came in a box from the store and we were supposed to build it. That was crazy for someone who landed here from India in 2009. More shock was on its way when I walked into Walmart and saw paint, power tools as drills, automobile parts etc and a whole section dedicated for "Home Improvement". What I mean is these were not things that you will find in a super market back home.


Initially I wondered who would buy these things, but as time passed I too came across the "DIY Bug". I was happy and pleasantly surprised to learn that almost everything to build a home from ground up and maintaining them neatly is easily and readily available to everyone. You don't need to call a painter to paint, plumber to fix a leak or a carpenter to build a table - that is if you don't want to. All these things can be DIYed. Yes it is a term that should really be added to the dictionary.


My foray into DIY started with a can of gold spray paint. What did I paint first? A branch from the backyard - a lamp next - a bowl third , I stopped keeping track after that. I have my first attempt still with me, survived three years and a move.


When we moved to our current home, our landlord was all in for painting the rooms and drilling a few holes. So I bought 3 cans of paint and painted our rooms - Oh, the happiness that brings! Do you know the name of the first paint we bought - "Shaken not Stirred" - Really paints have name too.


I followed this up with applying different wall treatments, putting up shelves, adding lamps, making a backyard lawn so on and so forth. But even now I find painting our walls as most gratifying thing yet - that is until I build my own desk. Let us see.

Paint a Wall : What you Need

What do you really need to have to paint a wall? Time and patience - they are free if you are willing. Next is paint and a brush in basics. While you need only these two to really paint there are other tools that will make the job easy. As in

Paint Tray : Here is one from Amazon. This is handy especially when you use a roller.

Roller : A basic one from Walmart . Rollers makes painting larger surfaces easier and gives a smoother and cleaner finish. The brush marks will not be visible and it is easy to roll than using the traditional brush.

Paint Brush : An example from Amazon. You will find them in varied price range and quality. Paint brush is important to get smooth lines at the edges and corners and you really have more control with Brush.

Painters Tape : I have used only one type. To cover the area that need not be painted, like the crown, ceilings and while painting shapes to get smoother and cleaner lines tape is very helpful. You can afford to spill over it and peel them right back after the process.

Drop Cloth  : This one is a life saver because you will definitely spill and drip. Having someone to catch the mess is God sent.

Step Stool / Ladder : For obvious reasons.

It is recommended that you have at least two coats on to get real good coverage. They say great quality paints will need only one coat. I have no experience with this. ( We should probably ask Vidya (Whats Ur Home Story ) . Visit her blog for more high end DIYs ).

I have bought Benjamin Moore and Valspar, both were great with two coats. Painting over darker surfaces would definitely need a primer to get the paint adhere to the walls well, but now a days most paints come as paint and primer in one.


Have you tried painting walls and using spray paints? If not try it, may be it will become starting point of your own DIY adventures as is in my case! I would be thrilled to hear your DIY adventures, painting or any other.

Keep Smiling,
Anima


Design Elements : The Chair, One I own & One I covet

If the evergreen sofa is the queen in the design of a gathering space, the chair that goes with is the princess. And as in most fables we know, the princesses take center stage and not her parents. Right!

I believe the same goes in the interior design world too. The smaller versions grabs the eyes in most rooms. This could be because sofas in most cases are limited by the comfort, budget, size and shape factors. The chairs offer lot of versatility and gives you an opportunity to make a statement and go bold without taking lot of space both literally and aesthetically.

Source : Fine Arts Museum, Richmond

There are at least one hundred designs in "chair" market that are worthy to be talked about. And they are available for every one. You could have any style -the traditional, modern, country, cottage, contemporary, bohemian, mid century, French, English . You could be the one who loves original or settles for a knock-off or re-production - Who ever you are you have thousands of options in the market. Especially in smaller rooms, I believe the smaller chairs in multiples is the way to go than a heavier set of 3+2 seater version. ( Even other wise the matching set is way out of trend, aren't they?)


We have two of these side chairs in addition to the sofa in our living room. One is a wooden launch chair other is a traditional leather make. Both are from our local discount store and came in good shape and needed only some refresh. The smaller leather one is the most used out of these especially with Akshara considering it as the chair where princess sits in her pretend stories. It is also the chair that is taken first when we have guests.


The other one is a lounge chair, I guess it is built for out door use. Solid wood with brass details. It is the chair "master of the house" takes on our movie nights or "talk- rubbish" nights. While I don't like it much, it is my stop gap while I wait for the chair I dream to have comes along.

And which one is that? The Eames Lounge Chair.

Source : Original from HermanMiller Store

This is one classic piece and makes its appearance in most magazines, movie interiors and is part of permanent collection at the Museum of Modern Art New York and Art Institute of Chicago. The original is designed by Charles and Ray Eames in 1956. It was originally made in Brazilian rosewood but these days available in various finishes and even reliable knock-offs in a variety of finishes. Since it is a classic, the original is way out of my reach, but I am more than happy to settle down on an authentic re-production.

If you haven't seen this guy before, here are some scenes where he rests in all glory.


Source : Apartment Therapy
 
Source :Ashe + Leandro
 
One post definitely not enough to cover the variety of talk-worthy chairs out there. That makes me think I should write about the different kinds of chairs available categorizing by period or style? The Egg Chiar, The Swan, The Diamond  chair - all are interesting designs. While I collect more data and facts about these wonderful additions to a room, tell me if you have a favorite chair? What is its story?

Hope you have a wonderful week ahead.
Keep Smiling, Keep Caring,
Anima


Friday DIY : Art with Strings


In the more sophisticated parts of internet this/similar one is called Fiber Art. I am choosing to call it string/yarn art since that is what it actually is in my case - yarn from the fabric store. Until a few months ago, it felt the whole blog land was filled with these. I encountered with one of these when I saw it hanging at Dana's ( @ House tweaking ) living room. I tried Dana's trick and later I used the same technique to create a larger wall hanging in our bed room. These happened months ago and then I just forgot about it.


In truth, this one goes way back in my life.My mother used to make similar wall hangings with some kind of plastic disks and yarn several summers ago. those were hanging at our home until as recent as my wedding. I think they lost out on the refreshed décor that comes with a wedding. That reminds me she had also made a swan out of nails and strings too which was my favorite.


Any how I thought of bringing it back when a little "client" of mine asked for some nature theme in her room. She already has some branches and leaves painted on one corner in a wall and I have been searching for something that will be apt to go with it yet in her color theme of purple and green. I haven't found anything yet so thought I will make something with some birds, feathers and yarn - all in budget from craft store and get away with it.


I just needed a start, then I followed with a few of my own versions because I had a bit of yellow, pink yarns left out from some previous projects. Since I am sure I am not going to crochet ( never say never - my mother tells me but yet I say that.) I thought why not play with it.


So here we go :-

I used some rings ( embroidery hoops will work too), skewers from kitchen and branches from back yard as base. Super glue goes a long way to attach these pieces to one another. Along with these the only thing I used is some yarn and of course the scissors. You can try "n" number of arrangements with these to come up with various designs. No limit to imaginations. Those of you good at crochet can work magic with these but I basically know only the simplest possible way to tie a knot. It is like that story in the Aesop fables where the cat knew only one technique to escape the tiger.


 used the above technique to make all except the yellow and pink geometrical design one.


For the geometrical one, I just stuck two skewers together and tied the yarn around and rotated in an almost square shape to get this.


( Psst: these are not well thought out - I know only one basic knot, so please teach/share your better ideas)

So that concludes this Friday's DIY funda. I am sure you have some yarn and some branches ready at hand. Happy tying knots and a very happy weekend.

Keep Smiling,
Anima


The great "Toy Despair" and a cure.


If you are a parent, you know or at least once have gone through the toy despair I am talking about. As a parent and as a person, I am very mindful and minimal. We buy toys that are really useful or well-awaited. I try to encourage toys that could be used for a long time and those that encourage imagination as in blocks, doll house, figurines, pretend kits etc. Yet somehow our little girl's collection too is growing and piling up on me.


Add to this books that I actively get her, craft supplies, crayons and knick knacks and gifts - the situation is something that gets easily out of control. That is why the term "the great toy despair". There are some rules I follow actively and deliberately to keep things under check. It is an absolute necessity around here because we have only three rooms and it would stress anyone out if that available tiny bit is cluttered - even with cute toys.


So over to the rules.

Rule 1 - Have system :

Invest in some good storage system. When I say a system, that includes a place to store the toys and also the decisions about who, how and when will the play and "putting them away" part happen. A well thought out plan  that considers how much storage you need and how and where you plan to store them helps a ton in keeping things under control.


Rule 2 - Purge :

This is a hard one, at least in our home. With both me and my husband being emotional ones, we have tough time getting rid of the used up and done with toys. But though with a heavy heart I follow this rule from time to time. At the least I would throw away the ones that are broken or with missing parts or not "in vogue" with her for over 3,4 months.

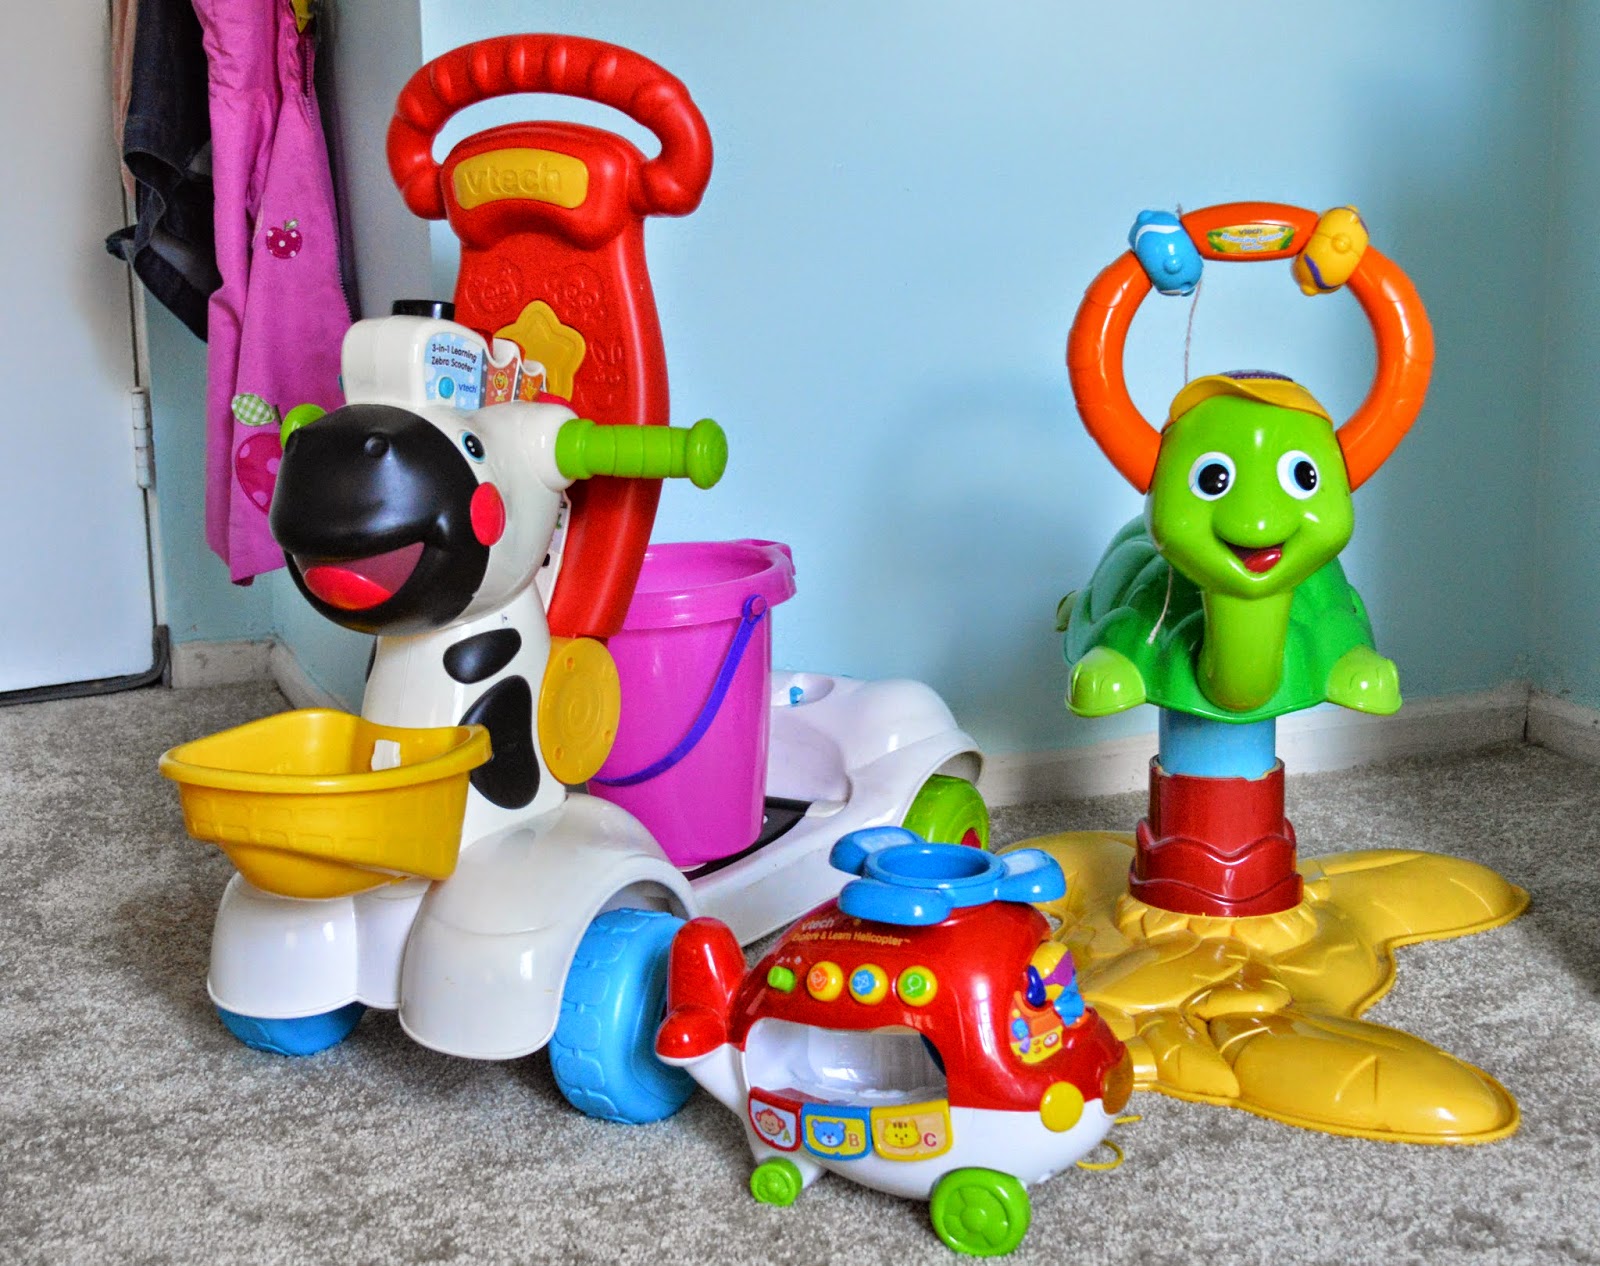
Our "purge Now" Pile

Rule 3 -  One-In-One-Out :

We try to follow this but as young as she is doesn't work out all the time. But as she gets older I am sure this is a rule that we can definitely impose. When ever a new toy is bought, I ask her and her father which toy are they ready to part with. If she is buying a new one she has to give away one to someone in need ( that means goodwill or donation center ) . The only kind that is exempt from this rule is books.


Rule 4 - Organize :

This one is the easiest and most important of all the rules for me. When everyone knows where exactly the toys should go after use and if putting them away is easy and simple, there is better chance of us actually doing it. Since our little one is young I have an open shelf and baskets and bins. If the kids are older concealed storage will work too. It will be easier for everyone if you can categorize and label them - as all the lego pieces together, mega blocks together so on and so forth.


Our storage system:

We have an open toy shelf that has individual baskets for categorizing. We have had this for past 3 years so Akshara, our little girl now knows where her things are kept. I don't yet insist on arranging them properly, she just needs to collect them and put them back in any basket. End of the day, well most days I empty the baskets and put everything back in the place they belong. ( Confession : Girish, my husband does this most of the times :-) )


In addition to this we have a number of baskets, actually one in each room where I collect random ones she carries around the home. End of each day or mostly when the baskets are full I take them to her room and arrange everything in order. That is our system right now which has been working perfectly so far.


We have a book shelf in her room where most of her books are kept. Ours is an Ikea Expedit shelf that can stand either vertically or horizontally. We chose to keep it horizontal so that her books and other things are visible and accessible to her easily. I do try to keep the shelf pretty and tidy which inspires me to keep it that way and encourages her to notice and use the things on them.
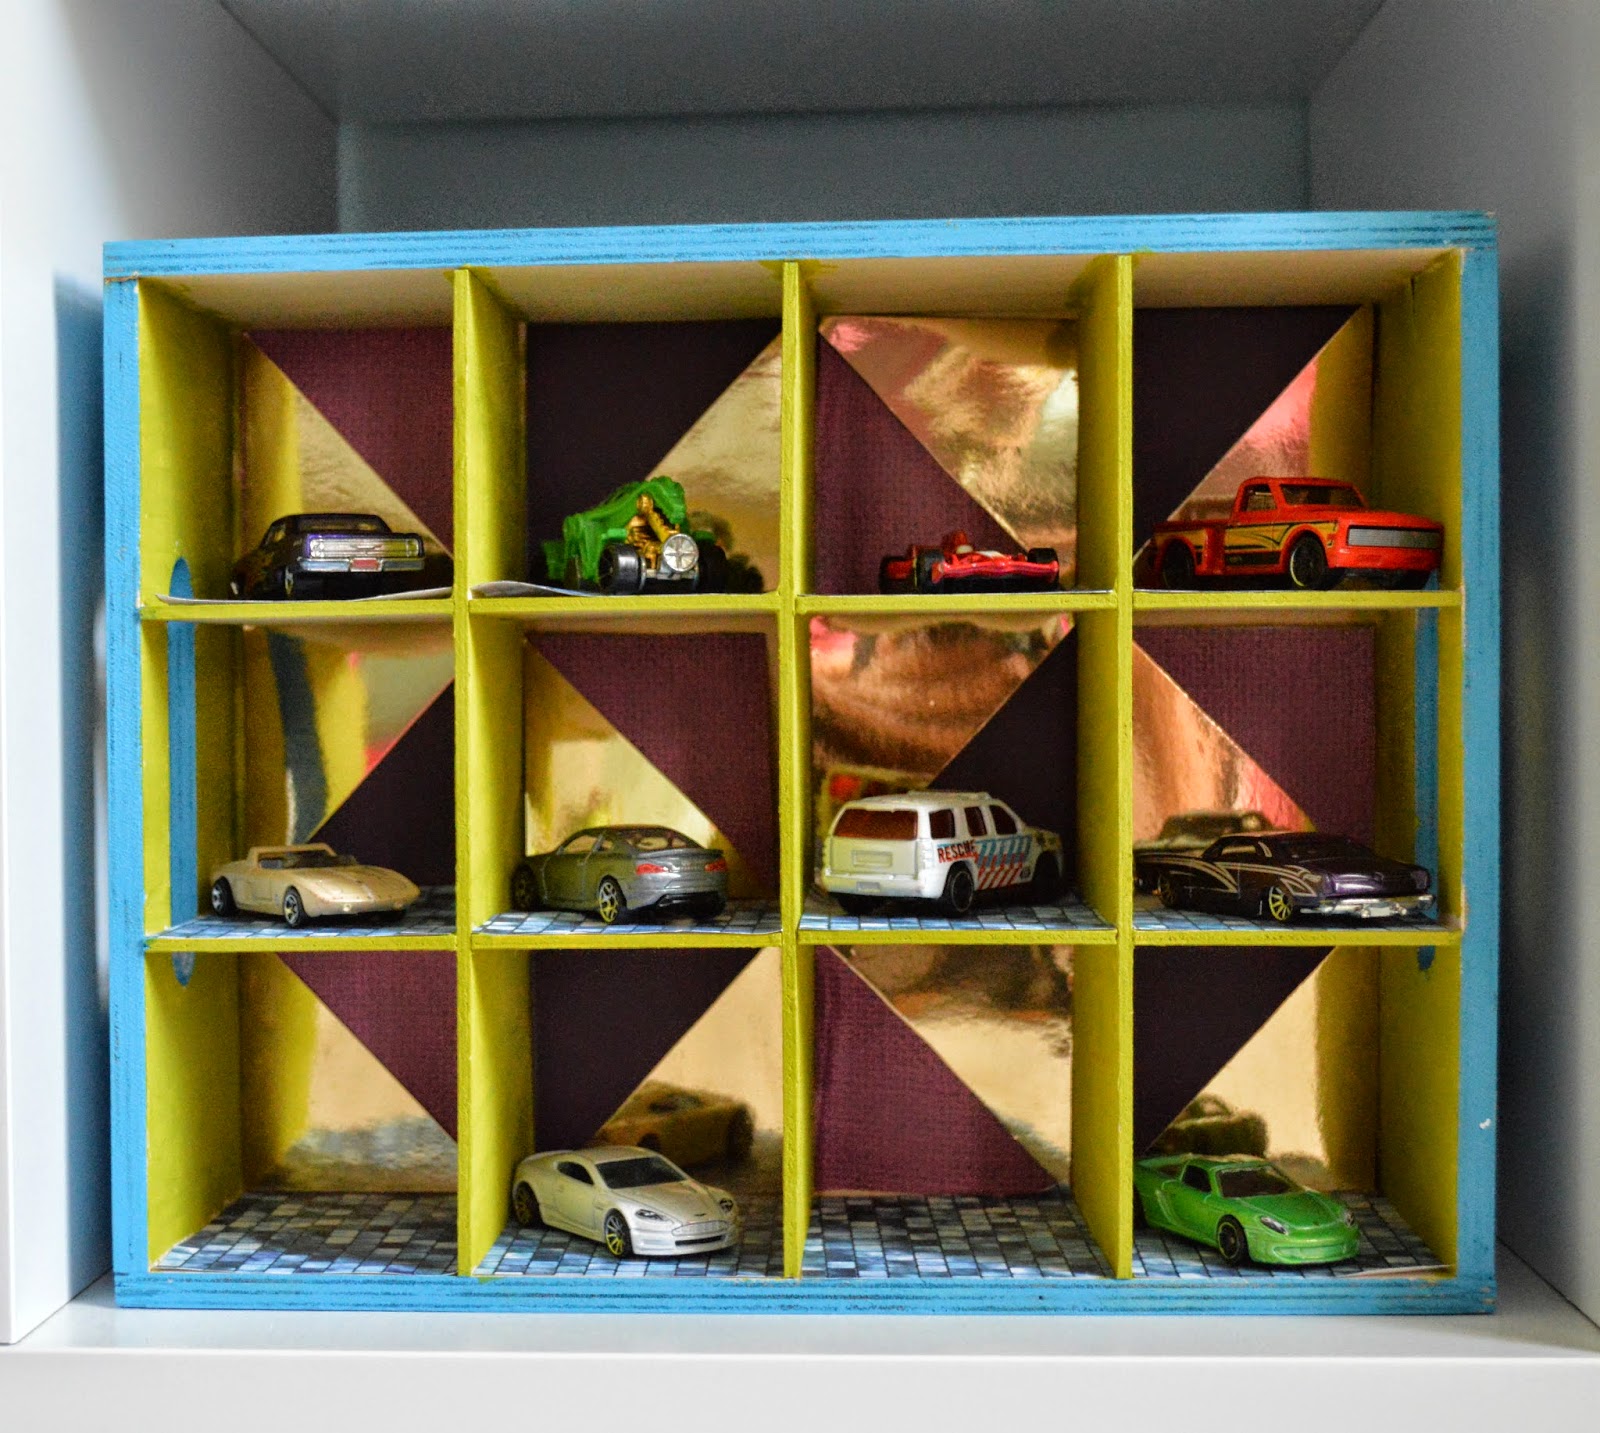

Our Car garage


We have a doll house that we are very proud of and which engages her for hours. By happy coincidence it came with a shelf at the bottom, so all doll house accessories are contained there.


We also have a one big basket to contain all the stuffed ones which is the only variety of toy that I don't like. I keep the new additions at bay by not letting the basket fill up and flow out. By that I mean, I get rid of the least favorite ones from time to time. I have trick here to achieve this. When I notice one of them is not seeing much use, I hide it. If she doesn't ask for a month, it goes to the donation pile.


Speaking of donation pile, we have one in the form of a plain box with lid. I just add when ever I find one out of favor and if it is not asked about for a month, I understand we are on the safe side.

I do confess, in spite  of all this there are days when the whole place looks run down. But her room is also one that can be easily cleaned, actually in a matter of minutes and reset to its presentable glory.

My point is proper organizing goes a long way. A few hours of thinking, planning and browsing and a few bucks is all you need. Trust me - it is absolutely worth it, because Akshara's room is the most used and abused room in our home yet it is the prettiest.

How do you organize your kids toys and stuff? Do they co-operate? What are your tricks? I would love to hear them.

Do have a happy time purging and organizing,
Keep Smiling,
Anima

P.S : More on Akshara's finished room : Here